
Acrylic nails are a type of artificial nail extension that are made by combining a liquid and powder together to create a hard, durable layer over your natural nails. Here’s an overview of the process:
- Nail preparation: Your natural nails need to be clean and dry before applying acrylics. Your manicurist may file or buff the surface of your nails to ensure a good bond between the acrylic and your natural nail.
- Applying tips (optional): If you want longer nails, your manicurist will attach a plastic tip to the end of your natural nail using nail glue. The tip is then trimmed to your desired length.
- Applying the acrylic: Your manicurist will mix a liquid and powder together to create the acrylic mixture. They will then use a brush to apply the mixture to your nails, working from the base to the tip. The mixture hardens quickly, so they will need to work efficiently to shape and smooth it before it sets.
- Shaping and filing: Once the acrylic has hardened, your manicurist will shape and file your nails to your desired shape and length. They will use a buffer to smooth the surface of the nails.
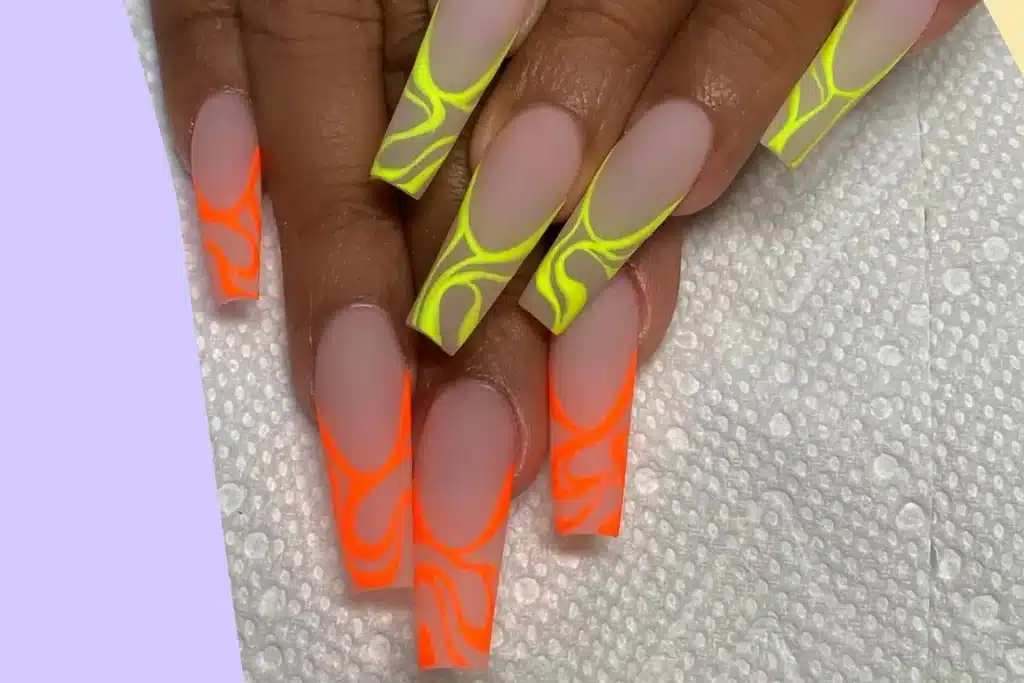
- Finishing: Your manicurist will apply a topcoat to give the nails a glossy finish. If desired, they may also add nail art or other embellishments.
- Maintenance: To keep your acrylic nails looking their best, you’ll need to have them filled every 2-3 weeks. This involves applying new acrylic to the area where your natural nail has grown out. Regular fills help prevent the acrylic from lifting and breaking.
- Care: Acrylic nails can be more prone to breaking or lifting than natural nails, so it’s important to take care of them. Avoid using your nails as tools, as this can cause them to break. Wear gloves when doing household chores or other activities that could expose your nails to moisture or chemicals.
- Health risks: Acrylic nails are generally safe when applied and maintained properly, but there are some health risks to be aware of. These include fungal or bacterial infections, nail damage, and allergic reactions to acrylic or nail glue. Be sure to choose a reputable salon and technician, and speak up if you experience any discomfort or signs of infection.
How To Remove It
The best way to remove acrylic nails is to have them professionally removed at a salon. However, if you need to remove them at home, here are the steps to follow:
Materials you’ll need:
- Coarse nail file
- Acetone
- Cotton balls
- Aluminum foil
- Wooden stick or cuticle pusher
Instructions:
- First, file the top layer of the acrylic nail with a coarse nail file. This will help to break the seal between the acrylic and your natural nail.
- Cut small squares of aluminum foil and cotton balls. You’ll need one set for each nail.
- Soak the cotton ball in acetone and place it on top of the nail.
- Wrap the foil tightly around the cotton ball and nail, securing it in place.
- Repeat the process for each nail, then wait for 15-20 minutes to allow the acetone to soften the acrylic.
- After the waiting time, remove the foil and cotton balls from your nails. The acrylic should be softened and easy to remove.
- Use a wooden stick or cuticle pusher to gently scrape away the softened acrylic, being careful not to damage your natural nails. If the acrylic is not easily coming off, you can repeat the process for another 10-15 minutes.
- Once all the acrylic is removed, use a buffer to smooth the surface of your natural nails.
WOZAAA