

How to Screen Record on Mac: Mac is a line of personal computers developed and sold by Apple Inc. Mac computers run on the macOS operating system, which is known for its user-friendly interface, security, and integration with other Apple devices such as iPhones and iPads.
RELATED: How to transfer files between iPhone and Mac
Macs are popular among creatives, professionals, and individuals who prioritize design, performance, and ease of use. Apple offers a range of Mac models with varying specifications, including laptops (MacBook Air, MacBook Pro) and desktops (iMac, Mac mini, Mac Pro).
Define Screen Recording.
Screen recording is the process of capturing a video of what’s displayed on your computer or mobile device screen. It allows you to record anything that is happening on your screen, including video calls, gaming sessions, software demos, or online tutorials.
During a screen recording, the software captures the audio and video output of your device in real-time, creating a video file that can be saved and shared. Screen recording is commonly used by professionals, educators, and content creators to create training videos, instructional content, presentations, or product demos.
Screen recording software typically offers a range of options to customize the recording, including the ability to select specific portions of the screen, add audio commentary, or edit the final video. Most modern operating systems, including macOS, Windows, and mobile platforms like iOS and Android, come with built-in screen recording features, making it easy to capture high-quality video of your device’s screen.
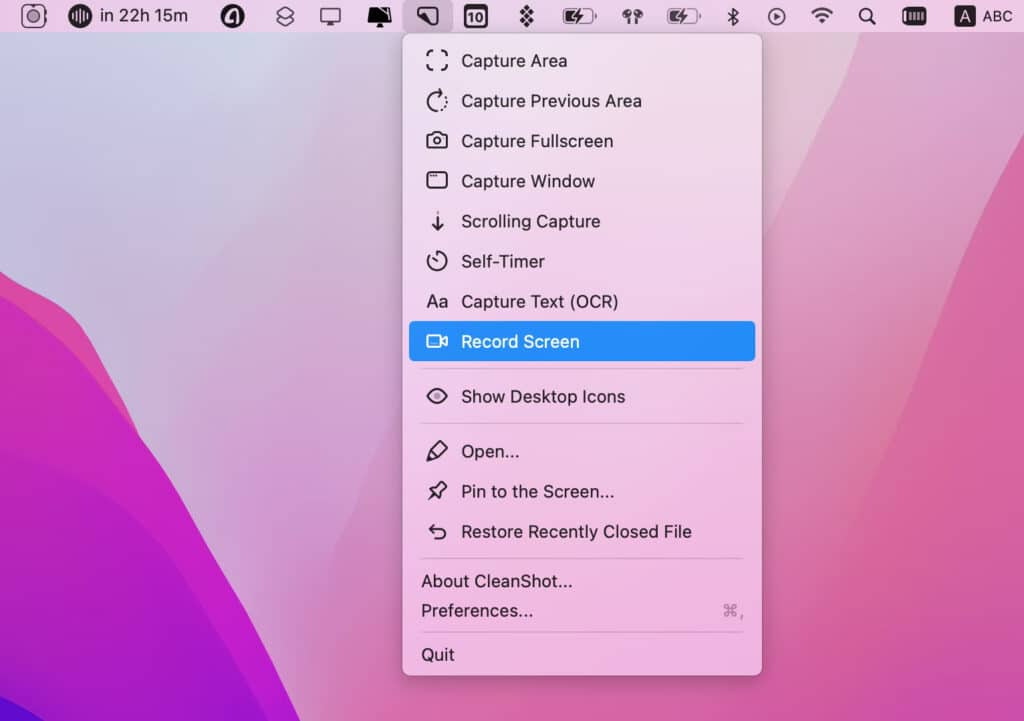
How to Screen Record on Mac
You can screen record on a Mac using the built-in screen recording feature in macOS. Here are the steps to do so:
1. Open QuickTime Player on your Mac. You can find it in the Applications folder or by searching for it in Spotlight.
2. In the menu bar, click on “File” and select “New Screen Recording.”
3. A screen recording window will appear. Click on the red record button to start recording.
4. You can choose to record your entire screen or a portion of it. To record the entire screen, click anywhere on the screen to start recording. To record a portion of the screen, click and drag to select the area you want to record.
5. Once you’re done recording, click on the Stop button in the menu bar or press Command + Control + Esc on your keyboard.
6. You can then save your screen recording by clicking on “File” and selecting “Save” or “Save As.”
That’s it! You have now successfully recorded your screen on your Mac using QuickTime Player.
Comments